Resetting your computer can be a helpful solution if you are experiencing major issues with it. However, it is important to understand that resetting your computer will erase all of the data on the hard drive, including any programs, drivers, and settings that you have installed. This means that you will need to reinstall these programs and drivers and set up your computer again after the reset. Therefore, it is not recommended to reset your computer unless you absolutely need to. If you are experiencing minor issues with your computer, there may be other troubleshooting steps that you can take before resorting to a reset. It is always a good idea to try these steps first before making the decision to reset your computer. However, if you do decide to reset your computer, the process is straightforward and can help to resolve many issues that you may be experiencing. In this blog post, we will walk you through the steps for resetting your Windows 10 computer.
Step 1: Back up your important files
Before resetting your computer, it is important to make sure that you have backed up any important files or documents that you don’t want to lose. This is because resetting your computer will erase all of the data on the hard drive, including any files you have saved. You can back up your files by saving them to an external hard drive, cloud storage, or a USB flash drive.
Step 2: Open the Start menu and click on “Settings”
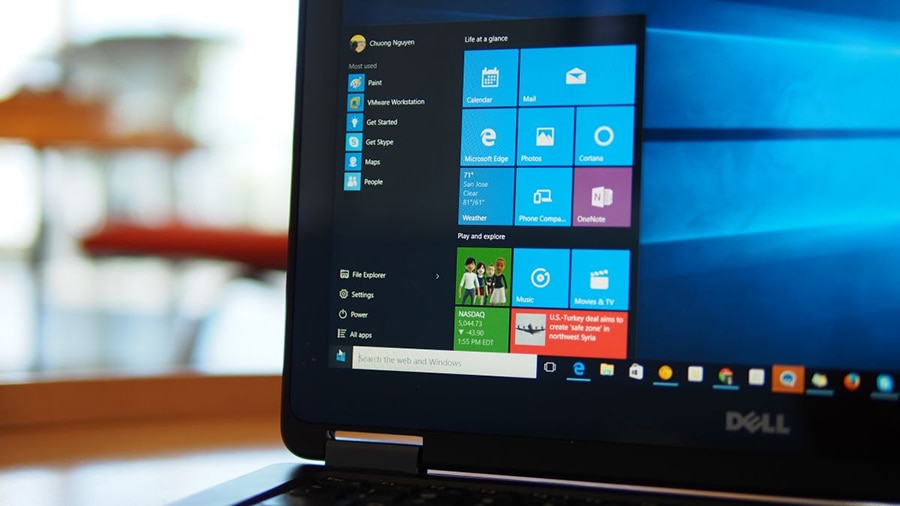
To reset your Windows 10 computer, you will need to access the “Settings” menu. To do this, click on the Start menu in the bottom left corner of your screen and then click on the “Settings” icon (it looks like a gear).
Step 3: Click on “Update & Security”
In the “Settings” menu, click on the “Update & Security” option. This will open a new menu with options related to updating and securing your computer.
Step 4: Click on “Recovery”
In the “Update & Security” menu, click on the “Recovery” option on the left side of the screen. This will open a menu with options for resetting your computer.
Step 5: Click on “Get started” under “Reset this PC”
In the “Recovery” menu, you will see an option called “Reset this PC.” Click on the “Get started” button under this option.
Step 6: Choose whether to keep or remove your files
On the next screen, you will be asked whether you want to keep or remove your files. If you choose to keep your files, your personal files and settings will be preserved, but any apps you have installed will be removed. If you choose to remove your files, all data on your computer will be erased, including your personal files and settings. Choose the option that best meets your needs.
Step 7: Follow the on-screen instructions to reset your computer
Once you have chosen to keep or remove your files, the reset process will begin. Follow the on-screen instructions to complete the reset. This process may take some time, so be patient.
Step 8: Set up your computer
After the reset process is complete, your computer will restart and you will need to set it up again. Follow the on-screen instructions to set up your computer and restore any backed up files.
That’s it! You have now reset your Windows 10 computer. If you were experiencing problems with your computer before the reset, it should now be running smoothly. If you continue to experience issues, you may want to consider seeking the help of a technical support specialist.
